Print files from the workshop: the all-in-one Gengar topper with its NES lid/deck, and the free Master Ball USB Vault. Digital files only; print them on your own machine. Software releases are in the software section.
$20 · DIGITAL DOWNLOAD
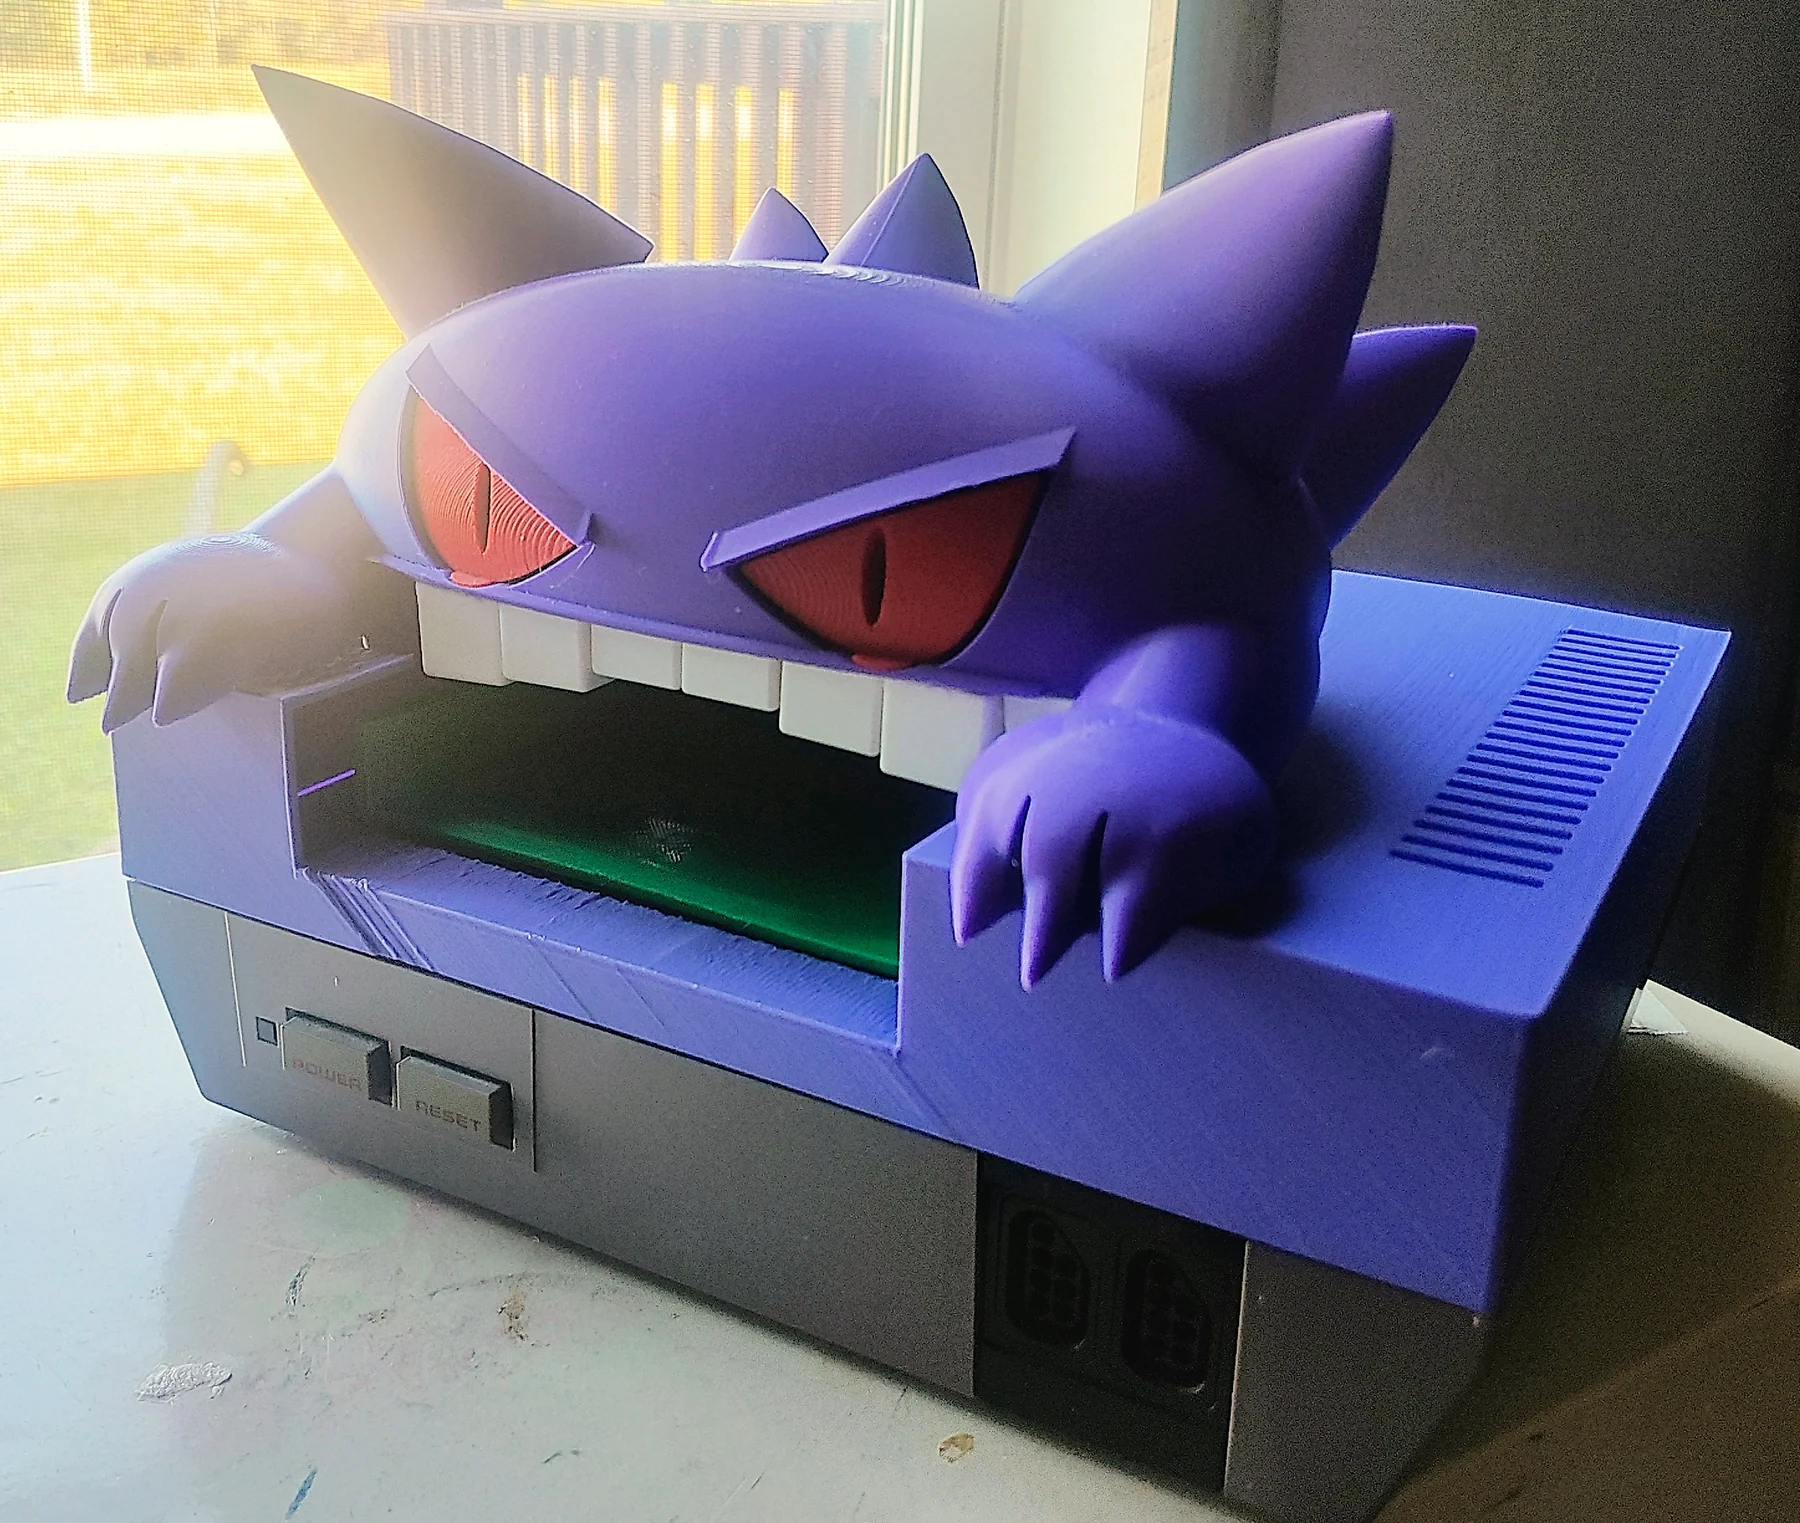
Gengar topper + NES lid.
The combined decorative topper STL and purple, red, and white editable 3MF, plus a separate structural NES lid/deck STL and printing notes. Print the topper and lid separately.
Photo shows a printed build example. Files only; no physical product, console, connector board, or cartridge tray.
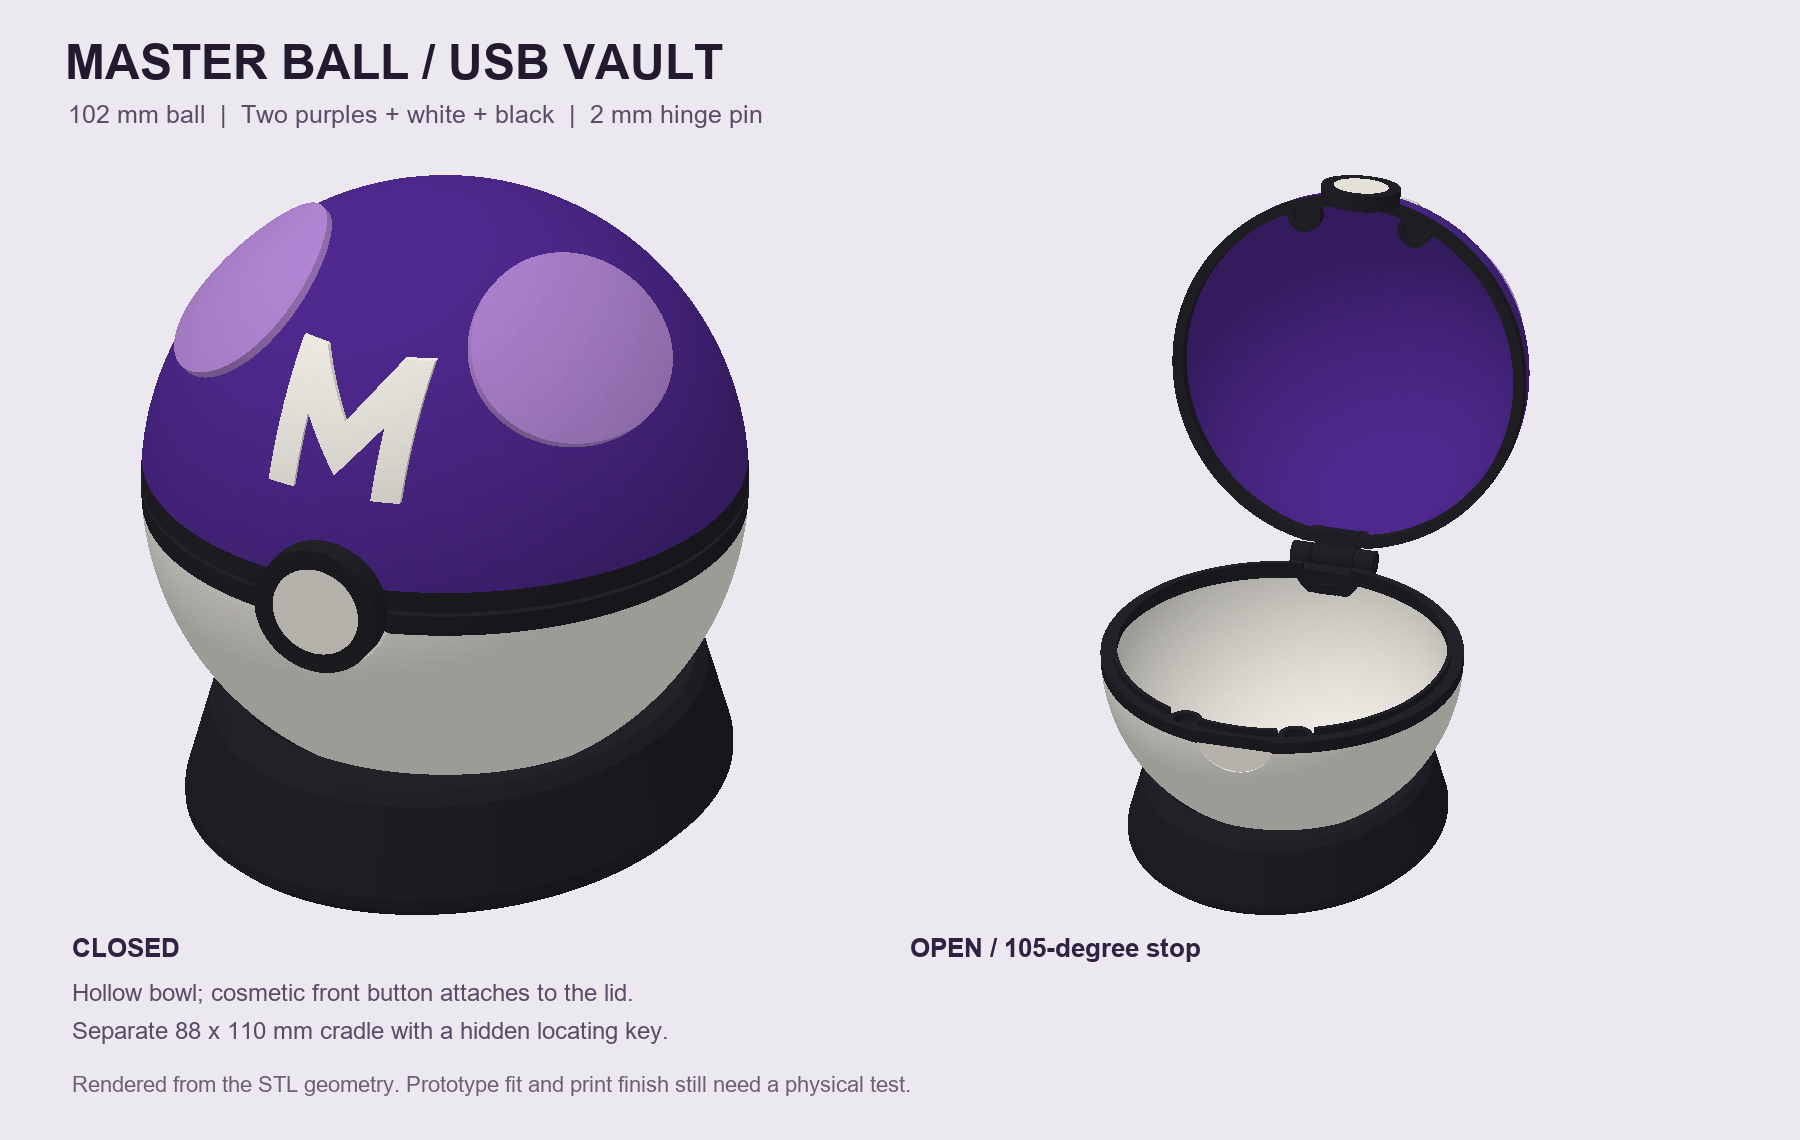
Hinged lid with an approximately 105° opening stop
Optional magnetic closure; decorative front button
What’s included
20 STL files, four editable multicolor ElegooSlicer 3MF projects, small hinge/color samples, parametric Python source, CAD previews, assembly instructions, and digital validation notes. Machine-specific offline G-code is also included.
This is a fan-made Master Ball–inspired storage box for small USB drives.
What you need
FDM 3D printer and compatible slicer. Supplied multicolor projects target the ELEGOO Centauri Carbon 2 with a 0.4 mm nozzle, PLA, and 0.20 mm layers.
Dark purple, light purple, white, and black filament for the original v1 CAD color scheme; choose your own colors in the slicer.
A straight 2 mm metal hinge pin, approximately 25–26 mm long, and suitable glue.
Optional: four 6 × 2 mm magnets for closure and three 8 mm felt feet.
Python is only needed to edit/regenerate the parametric source; it is not needed to print the supplied models.
Printing & assembly
Start with the included hinge-and-color test plate. Its offline estimate is about 33 minutes and 10 g.
Open the grouped 3MF projects in ElegooSlicer. Match each logical color to your actual spool and review supports, temperatures, and plate settings before slicing.
Use your own printer profile and reslice for other machines. The archived G-code is specific to the Centauri Carbon 2 and has no physical spool-slot assignment.
The complete full-size set estimates about 21 hours and 371 g including supports and color changes. The lid, bowl, and cradle/button are separate plates.
Remove supports, test the hinge pin, glue the cosmetic button to the lid, and follow the included magnet and cradle assembly instructions.
Printed build & download version
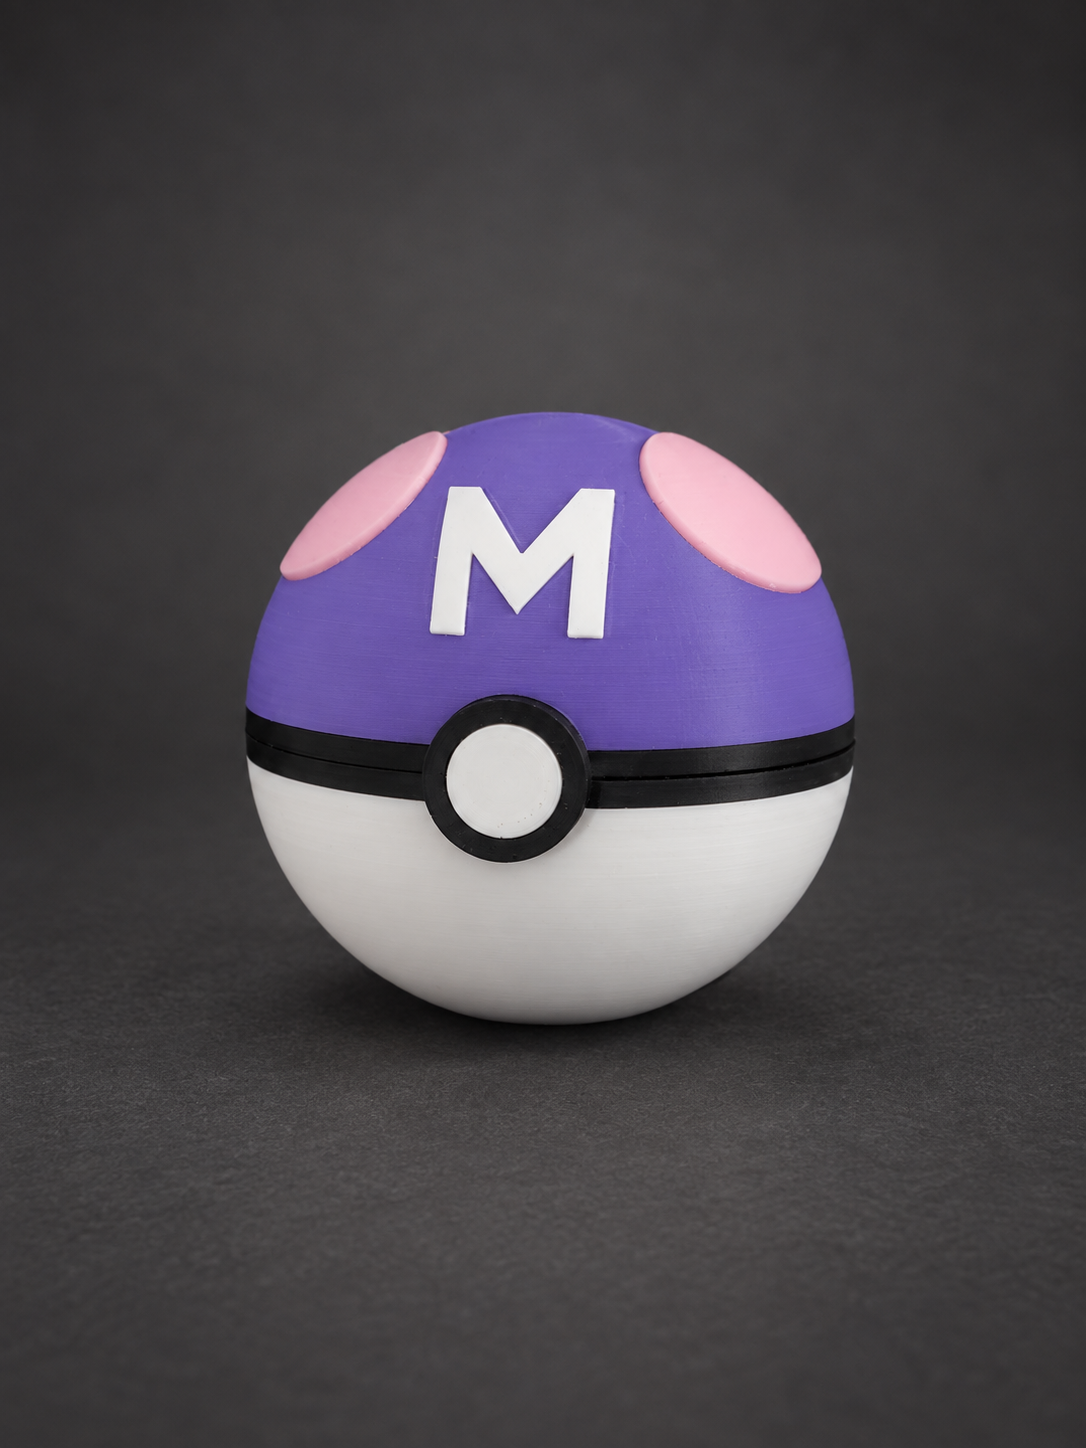
The September 16 workshop photo shows the physical Master Ball build with its lid and bowl together. The purple top, pink accents, white M and black trim have made it from the design to the desk.
The free ZIP remains the original v1 prototype package. Later print revisions may differ from those files; the photo is not confirmation that every part or assembly detail in v1 has been tested. Printing estimates in the archive are slicer estimates.